|
ZABBIX - Setup
|
| Setup ZABBIX |
|
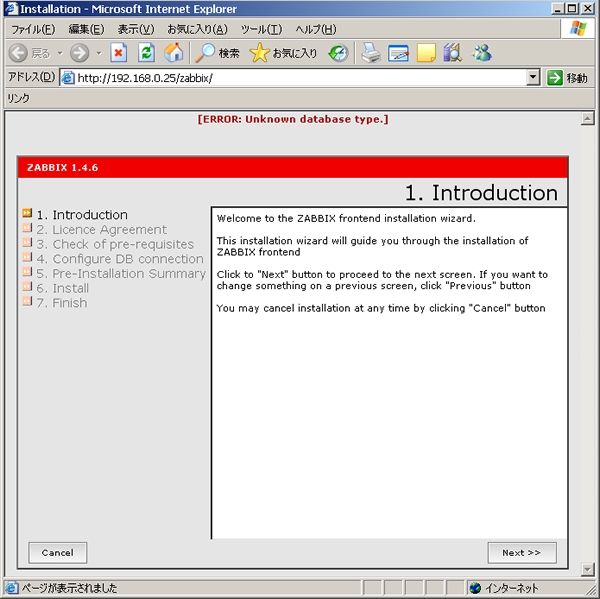
| [1] | Access to 'http://(server' hostname or IP addres)/zabbix/', following screen is shown, Click 'Next'. |
|
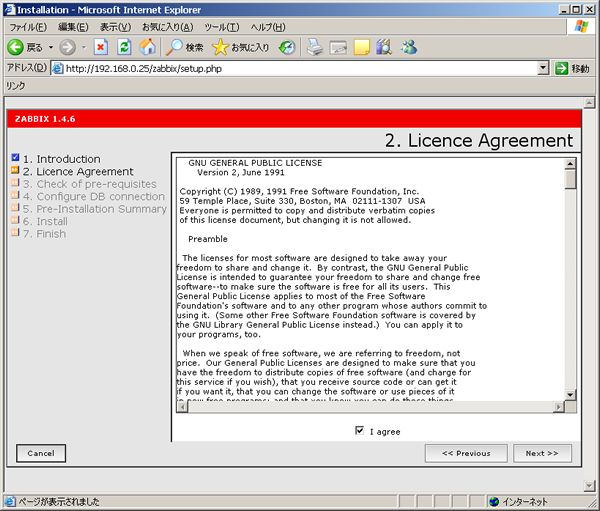
| [2] | Check a box 'I agree'. |
|
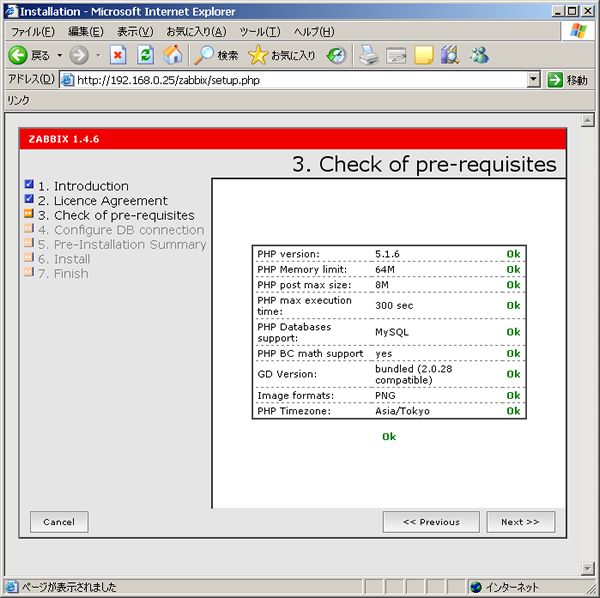
| [3] | Make sure all section is OK and go next. |
|
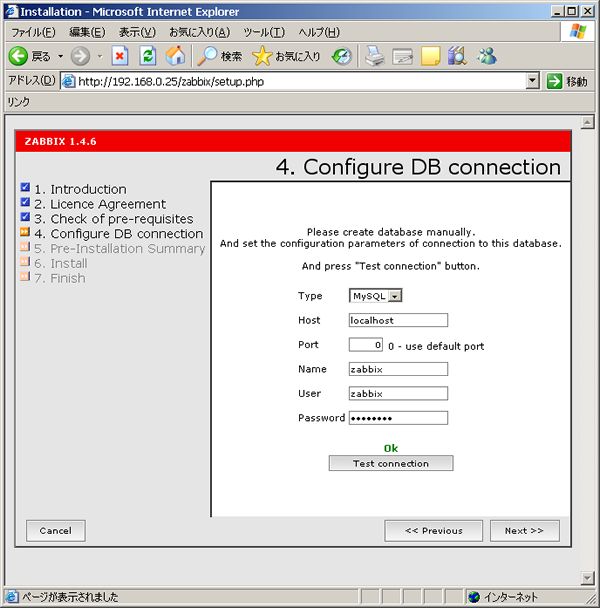
| [4] | Change 'root' to 'zabbix' in 'User' section and input password for it. Next, Click 'Test Connection', then it's no ploblem if it's OK on the screen. |
|
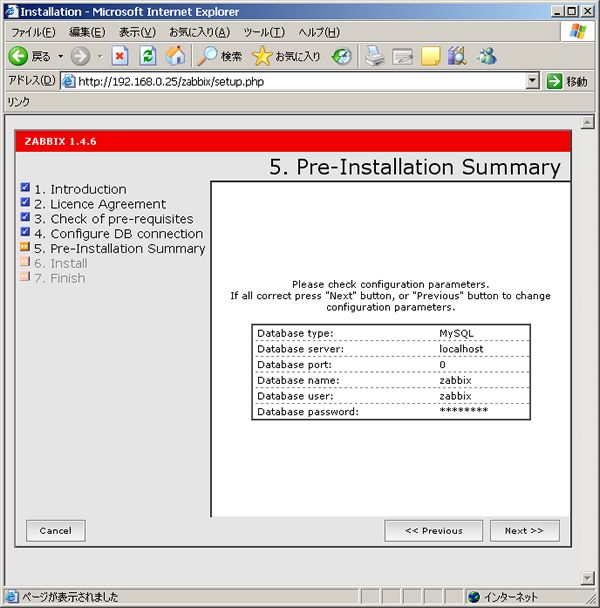
| [5] | Make sure all section is OK and go next. |
|
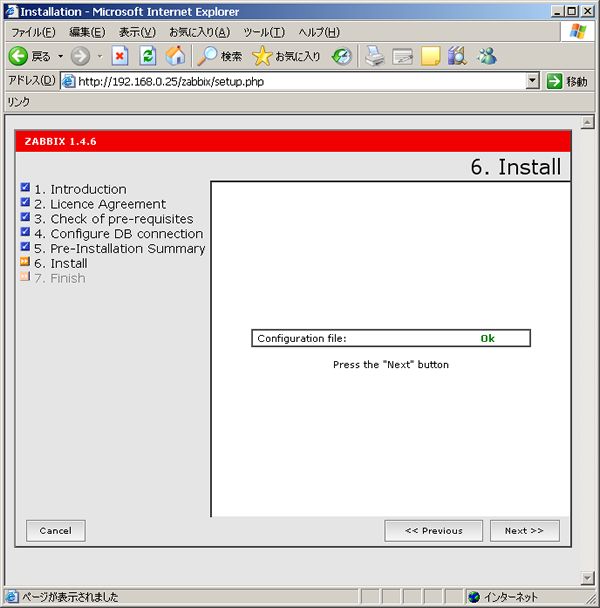
| [6] | Go next if it's OK. |
|
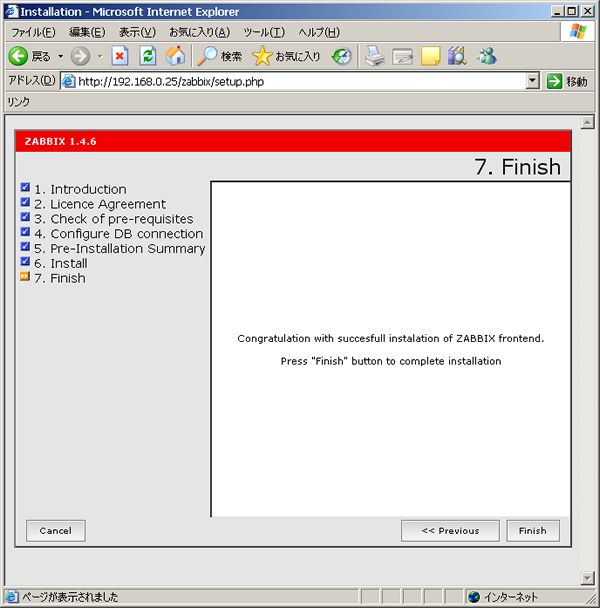
| [7] | Click 'Finish'. |
|
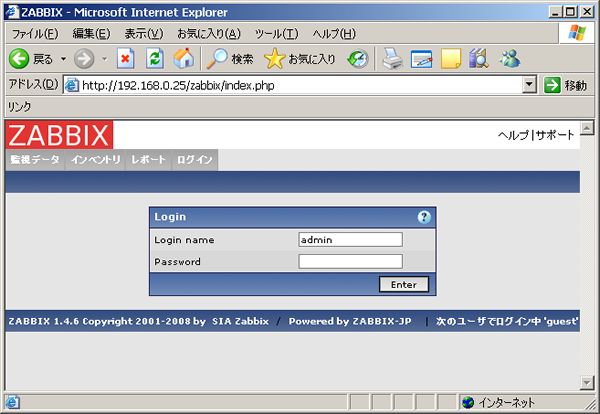
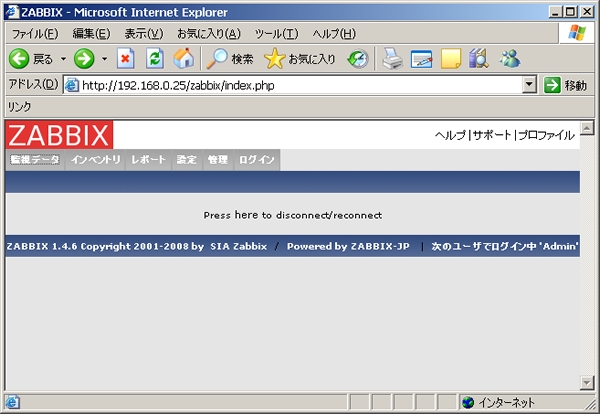
| [8] | Login site is shown. Login with 'admin' user, it's OK password is empty. |
|
| [9] | Just logined. |
|
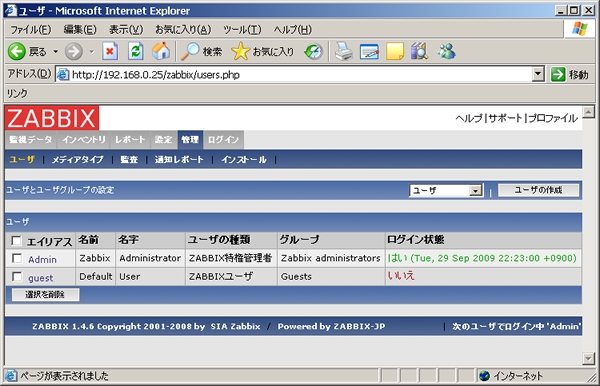
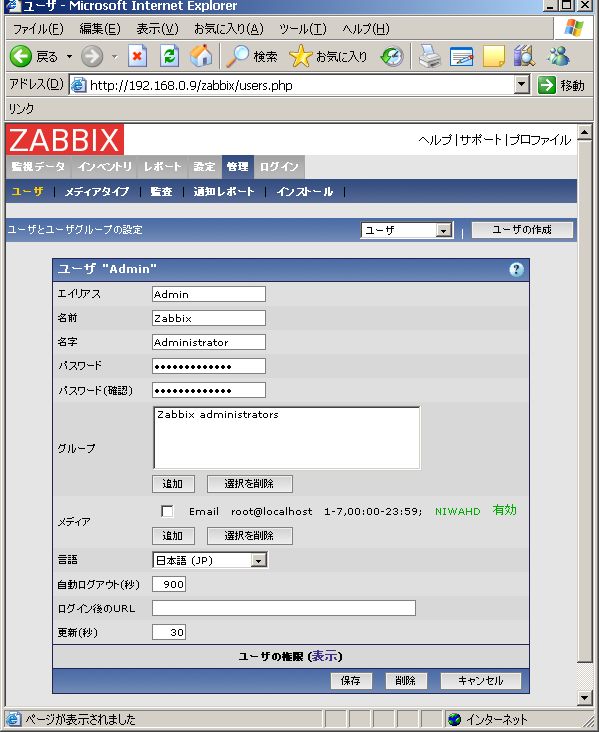
| [10] | Set admin password first. Move Administration Tab and Click 'Admin'. |
|
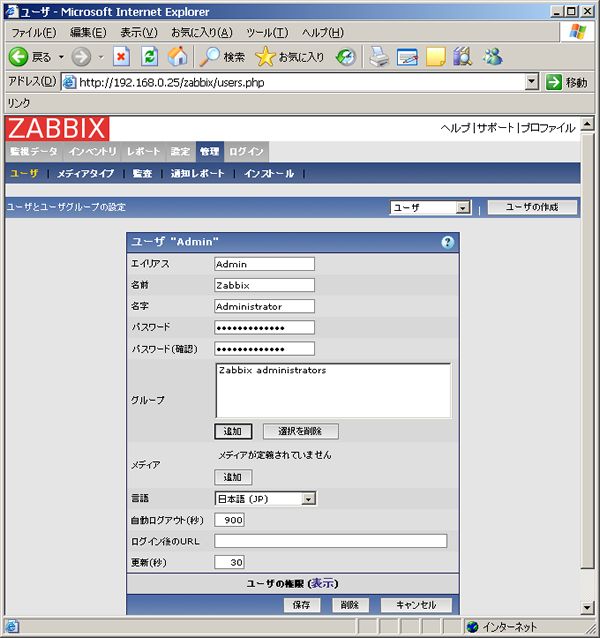
| [11] | Click 'Change password'. |

|
| [12] | Input any password you'd like to set. Next, Click 'Add' in Media section. |
|
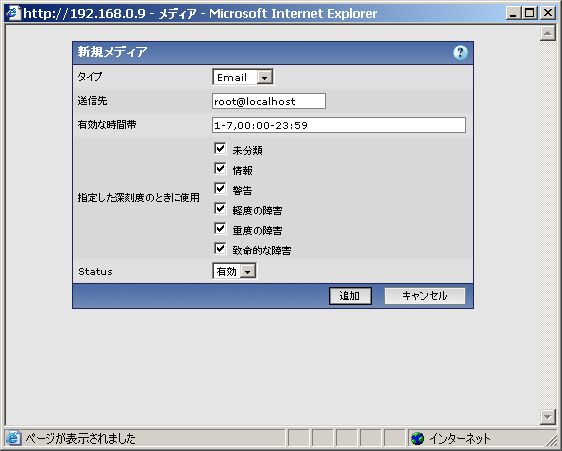
| [13] | Inoput your email address that is for 'Admin' user and Click 'Add'. |
|
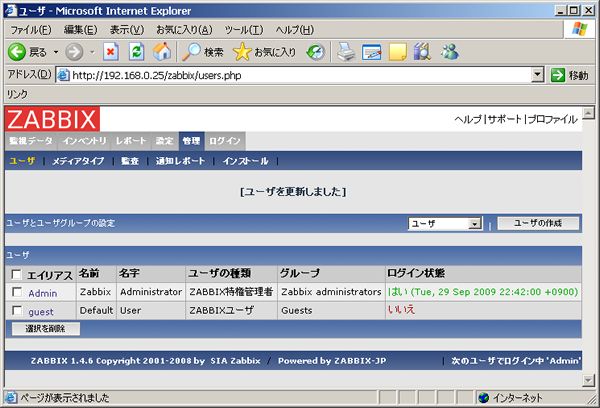
| [14] | Click 'Save' button that is placed at the bottom.。 |
|
| [15] | It's OK. |
|